
Cutout Image in Illustrator? Is that even possible? What is the method for isolating a subject from its background in Illustrator? Your mind might be contemplating all these questions when discussing image cutouts in Illustrator.
When we think of an image cutout, the first thought that comes to mind is that you will need to use Photoshop for that purpose, as there are various selection methods and ways of isolating the subject from the background in Photoshop. But what is the method for doing so in Illustrator? Read along to find out!
How to Cutout Image in Illustrator?
One of the methods for a cutout image in Photoshop involves using the Pen Tool. With the Pen Tool, you can make a cutout image with a sharp, precise edge preserving the pixels so that the background can be removed and the asset can be edited or placed on another background. Much like Photoshop, you can even use Illustrator for the cutout process for background removal. Here are some of the steps you can follow to remove background in Illustrator:
Step 1: Open the image file
The first step is always the same in Photoshop or Illustrator. Open the image file that you want a cutout of. You can drag and drop, which will open a new Layer. Another will be to create and new Artboard and then use File > Place to select the image file you want to use
Step 2: Lock the Image
When the image is open, you can still move it around. It may interfere when making a cutout to isolate the subject from it. Open the Layer, select the image, and click beside the "eye," and a "lock" will appear. Locking the image will prevent it from moving around.
Step 3: Use the Pen Tool
Pen Tool, like for a cutout image in Photoshop, works similarly. Use the Pen Tool to outline the subject you want to make a cutout image of. You have to carefully make a path around the edge of the object you want to isolate, the same as it's done in Photoshop. Then make the necessary adjustment to fix your path by selecting the individual anchor points.
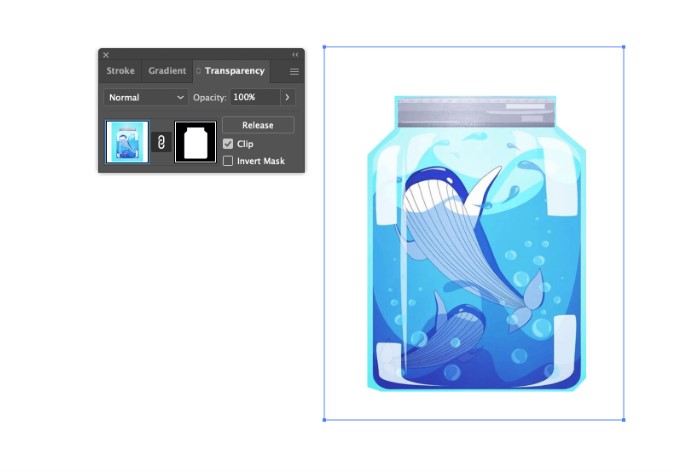
Step 4: Use Clipping Mask
For a clipping mask, you must ensure that the path is above the image. Make sure to unlock the image as well, as you will not be able to create a clipping mask if it is locked. Select both the path and the image, and right-click on your selection. A drop-down menu will appear. Find Clipping Mask from the list and select it. With a successful clipping mask, you can isolate your subject and remove its background.
However, with a clipping mask, your background is still intact, and you can move the image around to select another part of the image. To make adjustments, you right-click on the selection and choose Isolate Selected Clipping Mask. After the mask is isolated, you can select the image and move it around to another part of the image or adjust the path to select another subject.
Step 5: Save the Selection
The last bit is to save the selection after the background is removed. With the clipping mask still selected, go to File > Export Selection and export it as PNG. Thus, it will save the subject with a transparent background.
Conclusion
There you have it. We have successfully made a Cutout Image in Illustrator to remove the background of a subject. Give it a try yourself and become an expert!

0 Comments